

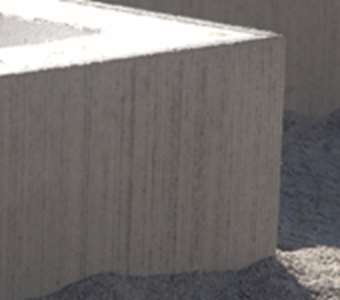

The foundations are an important part of any building. They may have to support their loads for centuries. Our base elements (Bender Sockelelement) provide secure foundations. They are insulated, high quality, fit together perfectly and come with a brushed, rustic finish that means they can be laid immediately.
Benders’ base elements are made of fibre-reinforced concrete. They have a rustic brushed finish and cellular plastic (expanded polystyrene) insulation. To match your building project, the elements are available in various shapes and sizes. Furthermore, Benders is the only manufacturer whose base elements are type-approved. This means that you will have durable, economic, warm and problem-free foundations for your new house or garage. There is no risk of damp or mould.
Laying your own foundations is fun. It can also save you a lot of money. Foundations must be stable and able to bear the weight of the construction they support. Below, we give step-by-step details of the construction process.
1. The site

You have found the site for your house! What do you now need to know? The ground conditions – your house must have firm foundations. If the ground is unstable, pile driving may be necessary. A geological survey will provide the answer. Many planning authorities may require such a survey.
2. Marking out and excavating
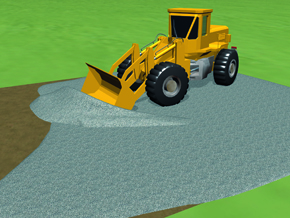
Your building project begins when you mark out your house. The next step is to excavate to the appropriate depth for the foundations. Dig a deeper trench for drainage pipes around what is to be your house. Mark out water, sewage, electricity and drainage lines. Fabric sheeting then has to be laid and a draining layer of gravel or macadam placed on top of this.
3. Peg out string lines
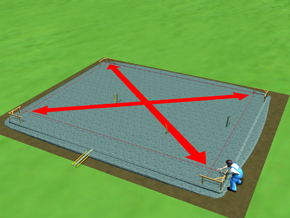
Measure out all angles and diagonals. Taking great care here with cross measurements can avoid many problems later on. Your planning authority may have to do this setting out for you. Alternatively, it may only have to check your work.
4. Start building at the corners
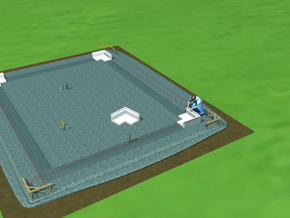
Lay and level out a thin layer of fine gravel for the base elements to stand on. Next, lay the corner elements as indicated by the string lines. You can now see that your house is beginning to take shape!
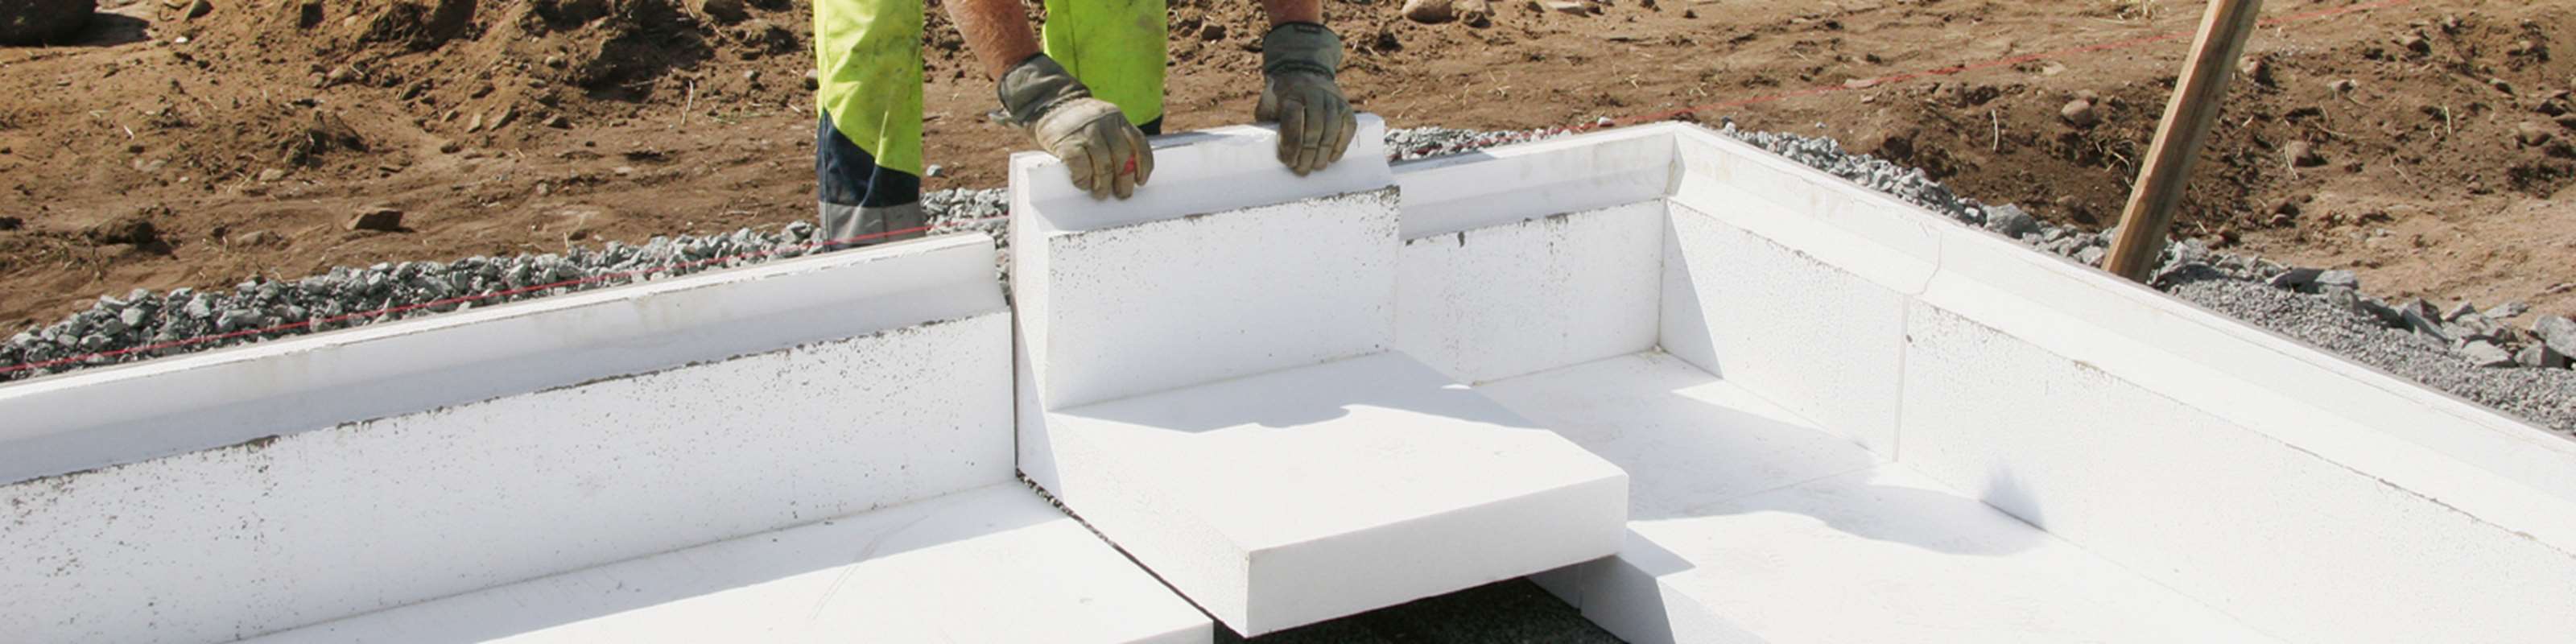
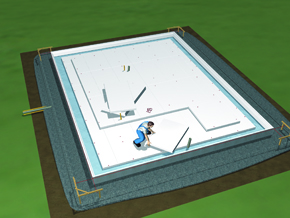
5. Lay the base elements
Lay out the straight base elements until the foundations are complete. If necessary, use an angle grinder to cut the concrete. A pad saw can be used to cut the cellular plastic. At each joint, fit two serrated jointing plates – one at the top and the other centrally on the base slab.
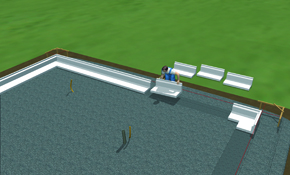
6. Lay out the first layer of cellular plastic
It is now time to insulate below what will be the base slab. Lay out the first layer of cellular plastic. Ensure that the slabs are level and that there are no gaps. This makes the remaining work easier.
7. Roll out the plastic sheeting
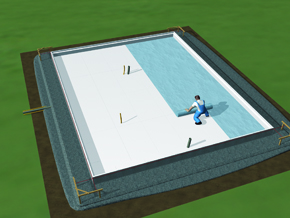
You can now reduce the risk of summer damp and radon penetration. Ensure there is a 300 mm overlap when rolling out the plastic sheeting. Take care to cover the entire surface, even out to the base edge. If there are high levels of radon at the site, special regulations must be observed. Contact your planning authority and building consultant.
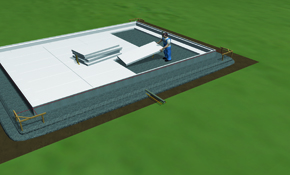
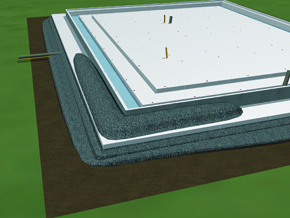
8. Second layer of cellular plastic
Making sure that joins are offset in relation to the first layer, lay out the next layer of cellular plastic. Use plastic nails to secure to both the underlying slabs and the base elements. There must be two nails in each base element.
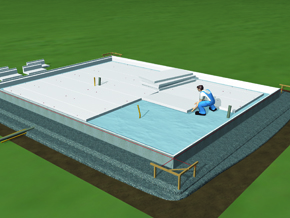
9. Third layer of cellular plastic
If, in line with our recommendation, you have decided on 300 mm of cellular plastic, lay out the third layer. Use at least two plastic nails to secure each slab to the underlying slab. This prevents the cellular plastic floating upwards when you pour the concrete.
10. Frost insulation
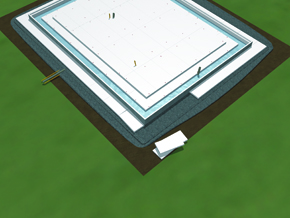
To reduce the risk of frost heave, a collar of cellular plastic can be laid around the house. The insulation is to be laid so that it fits tightly against the underside of the base elements. Generally speaking, the further north you build, the more important it is to have good frost insulation!
11. Backfilling
The next step, backfilling, is particularly important. Check the diagonal measurements and, so that the elements stand firm during pouring, backfill on the outside. If, for aesthetic reasons, you want to limit backfilling, or if you want to use high (500 mm or more) edge elements, you must add form bracing.
12. Edge beam reinforcement
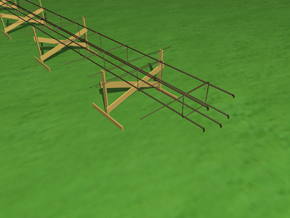
Edge beam reinforcement is an art. If you have any doubts, contact an expert for help with design and construction. As bending and lashing the reinforcement takes time, do not hesitate to carry out the work with the reinforcement resting on supports. Use reinforcement clamps with a centre-to-centre measurement of at least 600 mm. Joins in the reinforcement are to have a 600 mm overlap. When the reinforcement cage is ready, rest it on spacers in the edge beam. Any installation of floor heating is to be coordinated with this reinforcement work.
13. Reinforcing the base slab
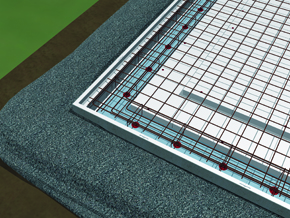
When the edge beam reinforcement is in place, lay the reinforcement mesh on top of the reinforcement cage. Follow the manufacturer’s instructions when laying out any floor heating pipes. So that it will be in the centre of the concrete slab, the mesh is to be positioned on spacers. At the edge beams, the mesh is to be raised on the reinforcement cage so that it tilts slightly inwards. This is good for strength. The mesh must go all the way into the mounting recess at the top of the base elements. Secure the reinforcement and order the concrete.
14. Edge beam pouring

Time to pour! To avoid having to use a self-levelling smoothing compound, ensure that the slab is smooth. If you have any doubts, contact an expert for help. Begin by pouring the edge beams to half the height of the beam. Let the concrete set before you pour the rest of the slab. If using a poker vibrator, great care must be taken at edge beams. Do not let the pump hose or conduit rest against base elements.
15. Pouring the entire slab
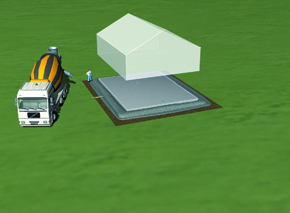
When the concrete in the edge beams has set, you can finish pouring the entire slab. If any concrete has splashed onto the base elements, this can be easily flushed away. Your foundations are now complete. Allow the concrete to cure. The relative humidity level should be under 85%. Starting to build when the moisture content is still high always leads to problems. Slab drying speed depends largely on concrete grade. However, weather and wind also play their parts.
NB! This information is for guidance only. Owing to geological variations in site and ground conditions, further technical factors may have to be taken into consideration. Benders’ information is free and is not to be regarded in the same way as, for example, an authoritative construction drawing. Nonetheless, the information is of great use in all relevant building projects.