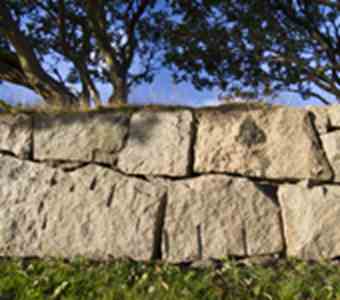

Benders’ expanded clay blocks are made from expanded clay balls (fired expanded clay), sand, cement and water. They are available in different widths for building interior and exterior walls. There are also complementary “gauge blocks” in various heights to tackle height limitations in respect of your foundations or walls. Expanded clay beams (lintels) are available in all widths for use above window, door and other major openings.
There are two different methods you can use to build your walls. The most used of these is the full-joint method. In this, both the bed and the vertical joints are completely filled with mortar and the bricks are laid with a stretcher (running) bond. The other method can be referred to as the shell-joint method. Here, block width must be at least 190 mm. Two parallel strings of mortar are laid as a bed joint. The mortar must cover at least two thirds of the bed. Again using a stretcher (running) bond, blocks are then butted directly against each other (i.e. there is no mortar in the vertical joints).
 |
 |
| Full-joint | Shell-joint |
So that the structure is as strong as possible, we recommend that you reinforce with Benders’ masonry reinforcement (bi-steels/ladders). Reinforce between the first and second course and then every third course. Always finish with reinforcement between the last and next last courses. For widths up to 150 mm use a single bi-steel/ladder. Use two for widths over 150 mm. To strengthen corners, cut one of the wires and bend the bi-steel/ladder around the corner. If you need to make a join, the bi-steel/ladders must overlap at least 500 mm.
 |
 |
| masonry reinforcement (bi-steels/ladders) | masonry reinforcement (bi-steels/ladders) |
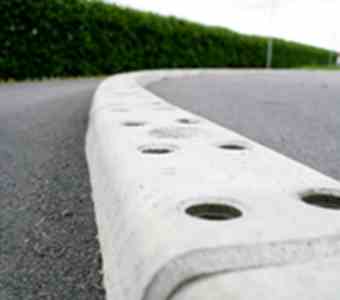
Bender Lättklinker (expanded clay) with Bender Sockelelement (base elements)
Below, there are details of how you can use our expanded clay blocks together with our base elements (refer to our Foundations range and “This is how easy it is to lay your foundations”).
Step 1) Start by anchoring the corner profiles. Check the structure’s angles by making precise cross measurements. Next, lay a foundations plate or a damp course (this comes between the foundations slab and the first course). Allow it to protrude around 1 cm on the outside. This gives a clear and attractive marking of where foundations stop and walls begin.
Step 2) Mark out the height of the first course (block height + 1 cm bed joint) at the corner profile. Use a spirit level and a straight edge to ensure that the markings are entirely horizontal. The more precise you are here, the easier you will find the work later on. Next, peg out a string line in accordance with your markings and lay the first course. Take care to follow the string both horizontally and vertically.
Step 3) Mark out the remaining courses on your corner profile (block height + 1 cm bed joint) and, course by course, peg out a string line throughout the laying process.
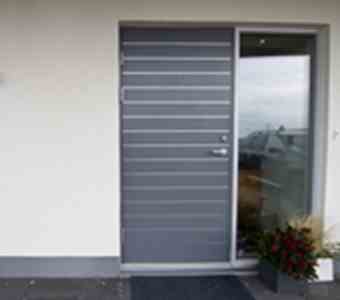
Step 4) Do not forget to leave openings for your windows and doors. Over each opening, place a reinforced expanded clay beam (lintel). This should be at least 600 mm longer than the width of the opening. It must be placed symmetrically over the opening (i.e. there must be an at least 300 mm “overhang” on each side). Any gauge blocks must be placed under the beam (lintel) to adapt the height of the opening to the height of the window or door in question.
 |
 |
Step 5) If you are going to plaster your wall, use staples to attach a metal stucco lath. This serves as reinforcement to stop cracks forming in the façade. Use a suitable plaster or render (contact your building materials outlet for guidance).
Step 6) Set up vertical wooden battens at around 1 m from each other. They must be as thick as the intended plaster. So that the levelling board will slide easily when you even off the plaster, the battens must be of planed wood. You can now start mixing the plaster as instructed on the sack.
Step 7) Moisten the wall using, for example, a hose. Use a plastering trowel to apply the plaster. Level the plaster using the levelling board. When the plaster has started to set, the battens can be removed. Fill the channels with plaster and level these off too. If you would like a rougher, more vibrant finish, you can use a mason’s float to scour the surface.
We wish you every success!
NB! This information is for guidance only. Owing to geological variations in site and ground conditions, further technical factors may have to be taken into consideration. Benders’ information is free and is not to be regarded in the same way as, for example, an authoritative construction drawing. Nonetheless, the information is of great use in all relevant building projects.