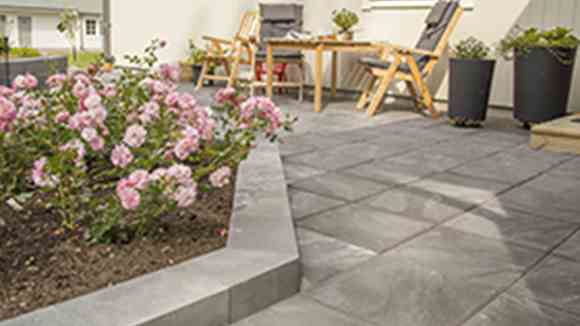

Paving is both beautiful and practical in gardens. Furthermore, concrete paving stones and slabs are easy to lay and available in many sizes and colours. Creating your own personal oasis could not be easier! Do not skimp on the preparations when laying. They are the most critical factor in the success of whatever you lay.
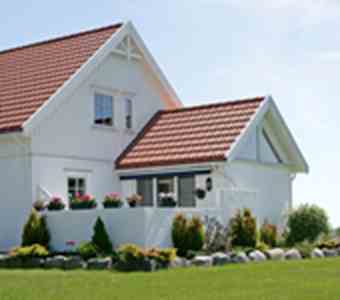
Choosing from the vast range of paving stones and slabs is sometimes easy and, owing to the breadth of choice, sometimes hard! Shape, size, colour, price and possible combinations are just some of the factors that play a great role in the decision. At Benders, we recommend that, for your choice of covering to be the best possible, you take into account: function; personal feelings and tastes; and, the exterior of your house and the setting in general.
When laying paving stones and slabs, you should start by calculating how big an area to cover. For example, an entrance path should be wide enough for two people to be able to pass each other. A garage drive ought to be sufficiently wide to accommodate people getting into and out of both sides of a vehicle.
Remember that the preparations are the most critical part of laying. Excavating and then filling with crushed rock (crushed stone) and bedding sand can be heavy work. Should you so wish, a landscape gardener can help with all or part of the work. For example, the landscape gardener could take care of the preparations and you yourself lay the paving. For those who would like to take care of it all themselves, we here give step-by-step details of the laying process. When your garden path, garage drive or other paving has been laid, remember to apply joint filler liberally. This helps both to minimise the risk of weeds and to increase the durability of the surface.

This is how to lay paving stones and slabs
Step 1) Measure and mark out the area to be laid. Peg out a taught string around the outer edges and along the final height of the paving. Remember that the paving stones/slabs must have a drop of around 20 mm per metre.
Step 2) Excavate about 250 mm for a garden path or outdoor area and about 350 mm for a garage drive. Read more about dimensioning of superstructures at Svensk Markbetong.
Step 3) Lay Benders’ fabric sheeting at the bottom. This prevents the underlying material mixing with the base course.
Step 4) Lay a 0 – 32 mm base course of Benders’ crushed rock. Use a plate compactor to compact this well. The surface of the base course must be even, well compacted and have the same slope as the finished surface. Besides 30 mm for the bedding sand layer, the distance to the finished surface must now also include the thickness of the paving stones/slabs themselves.
Step 5) Lay an even, 30 mm layer of bedding sand. Run over this once with a plate compactor. The bedding sand can be a 2 – 5 mm crushed material, e.g. Benders’ stone dust. Set up “levelling rails” (e.g. 2 – 3 m long iron pipes or timber beams) and adjust to the right level and slope. The tops of the levelling rails must now be at the same level as the underside of the paving stones/slabs. Using a straight edge, scrape off any excess material. Remove the levelling rails and fill any grooves.
Step 6) Lay the paving stones/slabs in a bond or other pattern. Carry out any other work on the laid paving. If cutting is necessary, at least one third of the stone/slab must be left in place. If shorter stones/slabs are needed, trim two stones/slabs to appropriate lengths. For a stable termination or edge to the surface, use Benders’ edge guard or a whole stone or slab. Where surfaces are subject to heavy loads, buried kerbing (advantageously set in concrete) is to be used.
Step 7) Fill joints carefully with Benders’ 0 – 2 mm joint filler or other joint material
Step 8) If a plate compactor is to be used to lightly compact the finished surface, a layer of sand should first be put down so as to avoid damaging the paving.
Step 9) Backfill all joints and brush clean.
Step 10) Paving stones, wall blocks and slabs are products that use natural ingredients. From one batch to another, there may be variations in colour and surface structure. There may also be other natural differences. This gives the products their unique and characterful looks. For best results, abrupt colour changes at joins can be avoided by picking stones from several pallets at the same time (rather than simply working through a pallet layer by layer).
Notice!
Variations in product dimensions are to be taken up in joints. This is easily done when a product is laid with no concrete contact. Joint width sometimes needs to be adapted to take up the tolerances in product dimensions. These tolerances mean that there can be slight variations in dimensions between production runs. Adaptation of joint width applies particularly: where paving stones or slabs of various construction dimensions are combined in prescribed patterns; and, in the machine laying of modules. The smaller dimension is to be adapted to the larger and not the other way around. In all these cases, the laying of test runs (to ensure that patterns and joint widths are correct) is recommended.
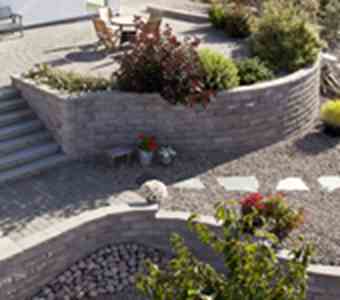
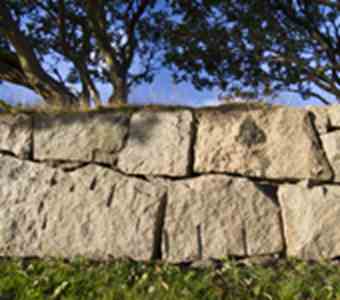
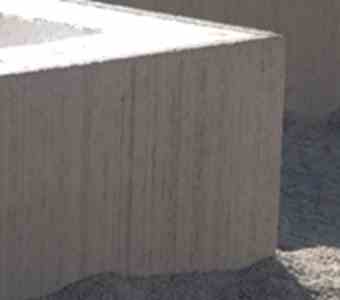
Walls
You can even build do-it-yourself walls. Here, Benders offers a wide selection that covers everything from retaining walls to freestanding walls. Just as with laying paving, preparation is critical. Stable walls that stand for many years and remain straight and attractive depend on it. When building retaining walls, the right backfill is also important.
The figure below shows a cutaway of construction using Bender Megastone. It is taken from our user instructions. On our website, the page for each walling product gives more detailed user instructions.

For our complete paving stone, slab and wall offerings, read about our landscaping range.